Posted on

Tomato Tending

Thanks to a wet, mild June we’re still a little ways out from tomato season, but even still, we are spending an inordinate amount of time with our tomato plants. They’re kind of the divas of the farm scene. Every week, four 125ft beds of field tomatoes get string added to their t-post trellis system (check out “Tomato Florida Weave” if you want to see our technique) and 5 beds of greenhouse tomatoes get their two main stems gently twisted up strings tied to the greenhouses’ purlins to maximize airflow. Lower leaves and suckers get snipped off all tomato plants as does anything remotely damaged or diseased. With around 750 tomato plants, that’s a lot of time spent.

Do we really need to do all that? Indeedio, we think we do. The PNW just doesn’t get enough heat units to guarantee quality tomato production, so we really have to coddle and beg them to realize their potential for us. Without picking the right varieties and pruning off excess growth, they are very likely to fall victim to early blight, late blight, verticillium wilt, fusarium wilt, any number of other ailments, or just produce low yields or low quality fruit. Even with all this effort there’s no guarantee one of these fungal catastrophes won’t strike – it’s only happened twice in the 14 years we’ve served as Senior Tomato Cajolers. So far so good!

Posted on

Radicchios and other Chicories

Radicchio. More like RADicchio. We love it and you may not… YET… love it, but perhaps you’re up for giving it another shot? Maybe you just haven’t found the recipe for you. Radicchio is still the trendiest crop in foodie-ville. Seattle’s hippest restaurants go all out for their annual Chicory Week, the hottest cold weather food celebration this side of the Mississippi. Long time CSA members have heard it all from me before. “Bitter is Better.” “Radicchio is full of anthocyanins, vitamin K, and micronutrients.” “It’s beyond incredible on pizza, pasta, salad, soups.” “They’re super expensive at the store, so especially precious in your share.” “The Italians love ‘em and you can’t argue with their cuisine!” and on and on…

Nathaniel and I are smitten with these beautiful leafy delicacies and we yearn for you to be, too. No worries if it’s not going to happen. They are indeed strong flavored, but you like strong, bitter coffee, don’t you? Eh? Anyway… We’re giving you a choice of chicories (radicchio, escarole and endive are all chicories) in hopes you can find one you’ll enjoy. Here’s the rundown of the options we’re offering this week.

Frisee: These light green, frilly heads are also known as Curly Endive. Frisee is mostly used in salad, especially in Salad Lyonnaise https://www.saveur.com/article/Recipes/Frisee-Salad-with-Poached-Eggs-and-Bacon/ and is one of the milder options in the chicory family.

Treviso: Football shaped and deep maroon, this is another mild-ish chicory and one that we love to sear or roast with balsamaic like this: https://www.marthastewart.com/346023/roasted-radicchio.

Sugarloaf: Considered by some to be the gateway radicchio, due to it’s mild and sweet flavor. It resembles a Napa Cabbage with it’s tall, lime green appearance. If you need some inspiration, give this a try: https://vancouverradicchiofestival.ca/portfolio-item/sugarloaf-pasta-with-lemon-and-almonds/

Adige Medio: This “Lusia-type” radicchio is round, light green/cream head with pink speckles and is often eaten raw in autumn salads with persimmons (https://beyondsweetandsavory.com/castelfranco-radicchio-persimmon-salad-with-blue-cheese-and-hazelnuts/#recipe), fennel and/or oranges. That bitter taste (in all radicchio) is due to a chemical compound called guaianolide: an antibacterial, antimalarial and anti-inflammatory in time for the first frosts of autumn. It’s also great cooked in risotto because it’s more delicate than red radicchios.

Posted on

How to Best Store Winter Vegetables

We’re here today to tell you how your Deep Harvest farmers store our beloved winter vegetables and what you could personally do potentially do to really maximize a crop’s longevity in your kitchen. Since we’re not getting a ton of any one item, we’re guessing you won’t need to be storing goods for all that long so don’t stress. These veggies are built to last!

Roots- Mixed roots store best if dry and at 32-40 in plastic bags in your fridge. People really swear by these green storage bags, but we’ve never tried them: https://www.debbiemeyer.com/. You could also make a bunch of soup or stew and freeze that. Here’s a great article that lays out how to go about doing so. Your future self will thank you!!! https://www.thekitchn.com/how-to-freeze-soup-23397915

Cabbage Your farmers keep cabbage in a plastic bag wherever we can fit it in our fridge. We also make a ton of kraut https://www.thekitchn.com/how-to-make-homemade-sauerkraut-in-a-mason-jar-193124 and kimchi, which will store in your fridge for a few months.

Brussels– We store these like the cabbage. Plastic bag, fridge. You may also freeze them, by blanching in boiling water 3-5 minutes, then putting directly into ice water, then drying them, freezing flat on a freezer sheet, and then storing in a plastic bag (more details here: https://poshjournal.com/how-to-blanch-brussels-sprouts. We’ve never done this as they can last fresh in the fridge for 3-5 weeks, if your fridge is around 32 degrees. At 41F they’ll store around 2-3 weeks- a good while either way!

Potatoes– Your local Deep Harvest farmers just keep em in a bowl on our counter. After a couple weeks, they do get green, which makes them unhealthy to eat, so this is suboptimal! If they don’t turn green but just sprout a smidge, we’re really not bothered and just break off the sprouts and enjoy em. This article from the food network says it’s fine to eat potatoes that have sprouted https://www.foodnetwork.com/how-to/packages/help-around-the-kitchen/sprouted-potatoes-safe-to-eat . If you care to be more responsible, store then in a cool, dry place- perhaps a paper bag in your pantry or a drawer in your kitchen. Don’t let them freeze as they prefer temps between 42-50F. If you want to freeze your potatoes for extra safe and delicious keeping, you could make hash browns following this recipe: https://www.justapinch.com/recipes/side/side-other-side-dish/how-to-make-your-own-frozen-hash.html.

Squash– These puppies can store 2-6 months at 50-55 degrees. Over the years, we’ve mostly just stored them in our unheated garage in crates, which has worked pretty darn well. A basement or pantry would be good too and a counter is actually probably just fine if it’s not close to your stove. If you wanted to make something fun out of a bunch of squash soon, this refrigerator or freezer squash butter makes a great gift. It’ll last in the fridge many weeks or in the freezer for months: https://gourmandeinthekitchen.com/maple-spice-squash-butter-recipe/

Onions and Garlic- These both want to be in a cool, dry, well-ventilated spot between 45-55 degrees. We just leave em on our counter and that works ok too, but at some point they start sprouting and then we eat them quick! We’ve also made minced onions (https://www.backtoourroots.net/how-to-make-homemade-dried-minced-onions/) and garlic salt (https://www.acouplecooks.com/herb-and-garlic-salt/) for gifts and for our own eating pleasure, which were well loved by all!

If you want to go the exta mile, you can get nerdy about vegetable storage with this helpful resource!

https://chemung.cce.cornell.edu/resources/storage-guidelines-for-fruits-vegetables

Have fun, all. Happy eating! Happy winter! We love ya!!

Posted on

The Importance of Regionally Grown Seed

Hey, that’s a fair question! Thanks to whoever telepathically sent it. I have a feeling you know what us regionally-focused seed growers are going to say, but then again, maybe not! We try to be straight talkers over here and want you to have the facts whether they serve us or not.

While of course we’d be giddy if folks got all their seeds from local seed companies, buying regionally appropriate varieties matters more for some crops than for others. For example, if you plant whatever lettuce, spinach, or radish seed your local hardware store sells, you’ll probably do just fine. Those are quick, easy crops that don’t require a long ripening period or a ton of heat units to do their thing.

However, random tomato, pepper, eggplant, melon, corn and winter squash varieties are higher risk propositions. Ripening Brandywine Tomatoes in Tacoma or California Bell Peppers in Portland are far from guaranteed. However, with a Scotia Tomato (named for chilly Nova Scotia) or a Mini Red Bell Pepper (nice and small for quick ripening) Northwesterners and other cooler location growers have a high chance of high yields. The shorter the Days to Maturity the merrier for these heat lovers.

So yes, you can grow watermelons in Washougal, WA, so long as it’s the right variety.

Posted on

Stratification, Scarification, and Vernalization- oh my!

Did you hear the birdies start chirping last week? Here at Deep Harvest, the robins are back to singing sweet songs of cereal (their AM chirps sounds like “cherrio, cherrio”) and the sun is showing its face. We know this means that you likely want to get your hands popping seeds into that cold muckiness. Ok, ok- at this point, we’ll allow it.

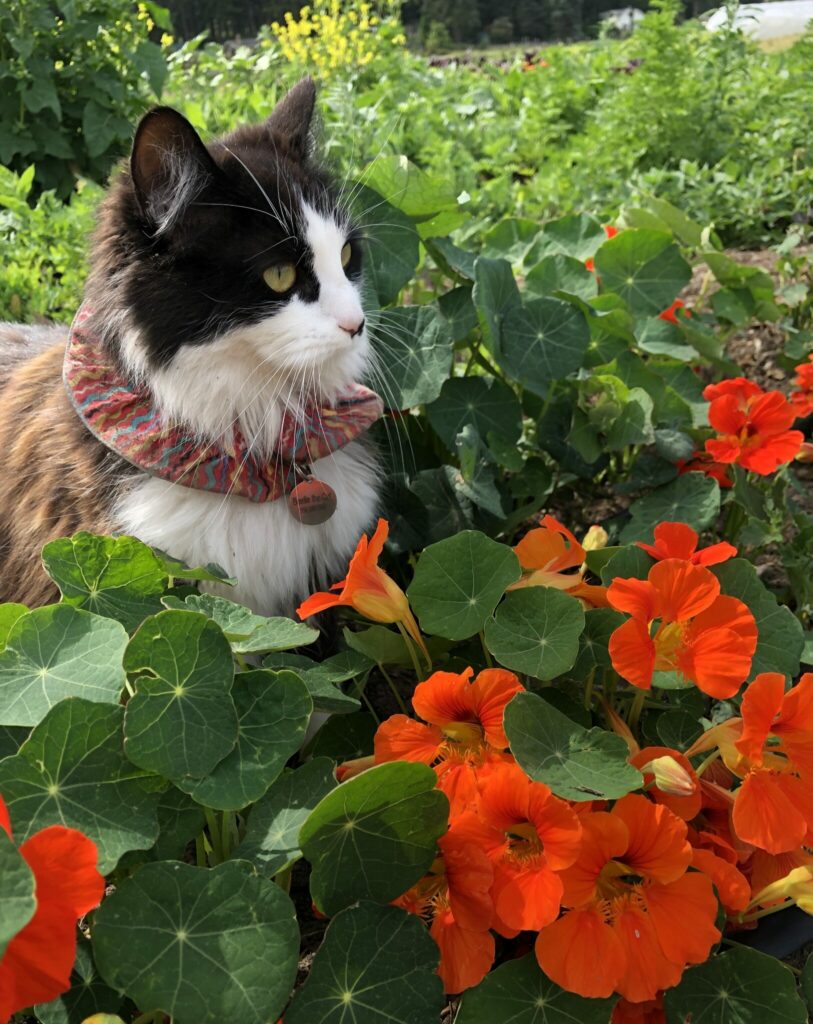
Lucky for you eager growers, some flowers actually like the cold soil. Who are these brave blooms? They go by the names Poppy, Larkspur, Rudbeckia, Catmint, Chamomile, Eryngium, Sweet Pea and Nasturtium. They’re the open-ocean swimmers of the flower world, not only tolerating frigidness, but even basking in it. (I’m an open water swimmer of the human world, so I understand!). We direct sow all these seeds in early to mid-March. However, if you’ve had trouble getting any of the aforementioned flowers to germinate, you might want to take tending to them to the next level. This crew appreciates being stratified or scarified! Eeee. Sounds scary, but it’s merely scar-y. Here’s the skinny on how to grow the frigid-est of flowers.

Stratification is a process of seed stimulation to promote germination. Most seeds experience dormancy as embryos, which must be broken somehow. In nature, seeds spend significant time in the ground during winter rains and frost which softens their seed coats. In your home, you can mimic this process by dampening a paper towel,  sprinkling the seeds on it and folding the towel around the seeds. Place this bundle in a labeled plastic bag, seal it, then mark your calendar so you remember to take them out of the fridge after a month! At that point, you can start your flowers as you normally would. Larkspur, Rudbeckia, Catmint, Chamomile, Eryngium all may benefit from this process.

Scarification: Some seeds have extremely hard, protective coats, which can make it difficult for them to germinate. The whole point of a seed having a tough coat is to prevent it from germinating at the wrong time. To overcome this protective mechanism, you can nick the seed with sandpaper or an emery board. You can also just soak them in water overnight before planting. That causes seeds to swell, which in turn breaks the outer seed coat. Sweet Peas and nasturtium may benefit from this process. At Deep Harvest, we always pre-soak our sweet peas, whose coats are particularly hardcore.

You may also have heard of Vernalization which is process that initiates flowering in plants (rather than germination of seeds) by exposing them to prolonged cold temps. Vernalization doesn’t apply to seed starting, but if you’re interested in growing root crops for seed, explore this concept further here: https://www.growveg.com/guides/vernalization-of-winter-vegetables-for-seed-saving/

Posted on

Seed Saving as Plant Breeding

While folks usually don’t use the term ‘plant breeding’ when referring to the simple act of seed saving, indeed that’s what it is. Each time a you save a variety for seed, you put a unique pressure on these plants to grow and adapt to your whims. Whether melons are grown for seed in a high tunnel or out in the windy fields impacts if plants will mature fruit and pass on seed to future generations. Our culinary preferences for fruit quality determine the genes passed down. Will they impart juiciness, sweetness and/or firmness? Choosing a few plants to save for seed from a large population is a breeding technique called ‘mass selection’ and has driven the evolution of our food crops for millennia.

Now, breeding completely NEW varieties usually entails more than mere selection, instead requiring novel “crossing.” For cross-pollinating crops like broccoli and spinach, this is simple: just plant two varieties near each other and wait for insects or wind (depending on their pollination mechanism) to carry the pollen between the two. Self-pollinating crops like tomatoes and peppers may require the physical transfer of pollen with a q-tip between plants, since the flowers don’t readily release pollen into their environment. This year at Deep Harvest we’ll be playing with the pollen of lettuce, nasturtiums and winter squash, making novel crosses and creating diverse, new genepools from which we can select out plants in future generations.

Want to do some easy plant breeding of you own? Many of our colleagues have already taken the first step for you by crossing multiple varieties together and selling the resulting diverse gene pools, or ‘grexes’. You can plant out these seeds and make selections based on your own unique growing conditions or preferences. It may take several seasons of selection for the genetics to stabilize into a  more predictable and uniform variety, but the journey itself is rewarding and fascinating! Check out Wild Garden Seed, Adaptive seeds and Experimental Farm Network to dive into this wild world. Carol Deppe’s book “Breed your own Vegetable Varieties” is the quintessential primer for folks excited to learn about backyard plant breeding. And finally, Cornell University has a great one-pager on the same subject.

Posted on

Seed Starting 101

Plants want to grow! Once those little green machines sprout in the ground, there seems to be no stopping them. But what about getting them to germinate in the first place? This might be trickier, as each seed type has different environmental preferences. The seed starting basics:

Water – Once in soil, seeds want to stay moist. Too wet they will rot, too dry and the water can’t penetrate their hard seed coat. If bone dry is 0% soil moisture and drenched is 100%, it’s ideal to keep you soil between 50-75% moisture. That usually means watering once a day in the cloudy spring, and twice a day later in the season. Make sure you’re soaking the soil least 1” deep so that the little seedling roots can easily grow downward.

Temperature – Each species has a different optimal temperature for germination at which the seed will sprout in the fewest days. Go above or below this temp and the number of days for germination will increase. Too hot or cold, the seeds won’t sprout at all and may rot in the soil or go dormant. A good average temperature for most veggie seeds is 70F. We use heat mats set at this temp in our greenhouse to start our seeds, and stop using them altogether by the end of May or when the ambient temps are about 70F. While we recommend mats for heat-loving solanaceous crops, most cool season crops, like kale and lettuce, will germinate just fine at 55F. Keep in mind that the heat mats are only for germination. After germinating, remove plant from heat to continue growing at ambient greenhouse temp.

Light – We start our seeds in a greenhouse. Here they are exposed to natural light fluctuation. A bright south-facing window can also be a good option. Some sites don’ have a much sun exposure, especially in late-winter/early spring, so you may opt to start seeds indoors under grow lights. It is important to use full-spectrum lights with a high lumen output, and to also have a timer that runs 12-16 hours a day. If your seedlings are getting leggy it’s likely that they are not receiving enough light!

Remember its always an option to start seeds directly in the ground once soil temperatures are sufficiently high and the ground is easily worked! Around here, early March is the absolutely earliest to direct sow those cool-season crops.

You got this!

Posted on

To mechanize or not to mechanize, that is the question

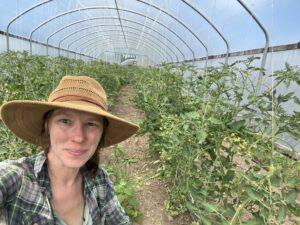
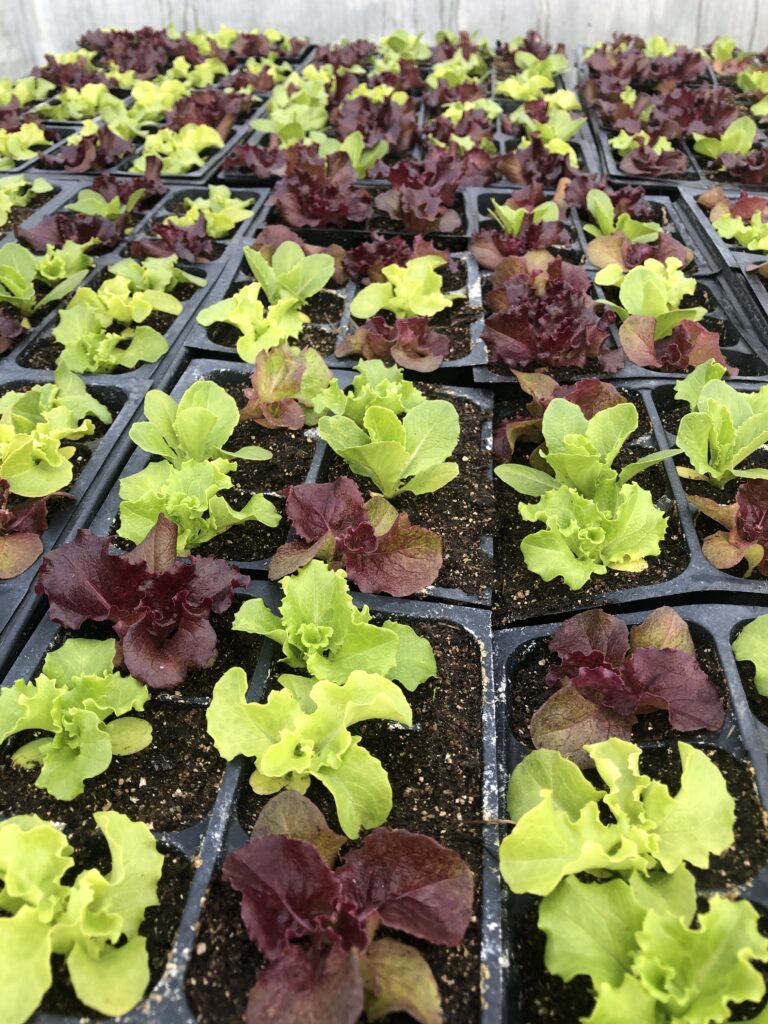
There are a couple distinct ways of approaching one’s small farm business. One approach is to buy all the snazzy equipment right away and assume it will eventually pay for itself in saved labor. Of course this doesn’t always pan out. Some examples of such luxurious small farm tools include new tractors and tillers, snazzy flail mowers and finger weeder implements, paperpot seeders for the fields (look it up, they’re trending on small farms), the vacuum seeder for the propagation house (also fun to google), and the greens harvester to cut salad without bending over (yet again, mr. internet will answer your questions), etc. to infinity and beyond. I don’t know if you know this about us, but we are not those kind of farmers. We are proudly scrappy, making sure a new tool is beyond well-earned before making an investment. After digging over 5,000 feet of potatoes in our first seven years, we decided we’d earned a potato digger. (Could’ve made that minor purchase a couple of years sooner to save the ol backaroo!) After 9 years on a tractor from the 60s and saving up our parsnip pennies, we figured we were due for a tractor with 4WD and some legit horse power. Mighty helpful when driving around in soggy springs! Twelve years in, we deemed ourselves worthy of a grown-up propagation house for our plant babies rather than two hilariously cramped, gardener sized start houses. Until we know for sure a farm addition is really, definitely going to improve efficiency and financially payoff, we hold off. So out we go to the fields to transplant by hand, knowing it’s the right move, at least for us.

Posted on

Reduced Tillage Musings

The quest to reduce tillage, reduce inputs and ultimately, reduce work, continues….

Patty ponders ways to reduce tillage.

Our soil management regime currently centers around planting annual cover crops in the fall. Usually this is a mix of a legumes and grasses which grow a bit in late Sept/Oct., rest through the cold, dark of winter and surge into growth in spring. They often reach 6 feet tall by May when they flower and become fibrous/carbonaceous.

Working material back into the soil so we can run a seeder through the dirt again is a big process. This entails grazing sheep, flail mowing, tilling, chisel plowing, perhaps tarping, tilling again, maybe raking or some combination. At minimum it’s a 6 week process that requires no less that 4 passes with the tractor per bed. It’s a ton of labor, fuel, and tractor wear and tear, but the worst is the amount of soil damage incurred in the process.

It’s a constant dance of building and destroying soil health, just to maintain status quo. I’m always scheming about how to streamline this process, or otherwise change it up without sacrificing the benefits gained from the cover crops (which are vast). One option is buying compost to maintain organic matter instead of growing cover crops, which doesn’t require mowing and tilling to incorporate. Unfortunately, compost is incredibly expensive to buy and labor intensive to spread. It also doesn’t capture carbon, prevent erosion, maintain soil biology (the rhizosphere of cover crops keeps the soil ecosystem happy through the winter) or suppress weed growth like cover crops do.

One interesting soil management strategy we’ll test next season is the use of live pathways.  First we’ll seed a field of, say, red clover in the fall and let it grow until the following spring. Then, we’ll mow the field and strip-till 4-ft wide beds every 7 feet, leaving permanent 3 ft-wide clover pathways between the beds. This field layout could theoretically last for years and hopefully won’t require planting and tilling of cover crop every season. The 4 ft beds will be fertilized, planted, and weeded like normal and then mowed after the crop is harvested. We’ll manage pathways with a 3 ft riding lawnmower which will shoot clover clippings out the side into the bed as a nitrogen-rich mulch. The following spring the bed will hopefully be re-established with a single pass with the rototiller.

Granted, I can foresee a millions ways things could go awry, but hey, it sounds cool on paper. We’ll try to keep you posted on results!


Posted on

Farm Diseases and Critter Pests

Here’s part 2 of our Farm Foes series. This week it’s diseases and critters!DISEASES:

  1. Downy Mildew – Wondering why the onions are so small this year? Blame the mildew, which killed their leaves before the onions had a change to swell up. Luckily small is still yummy. It also our afflicts our Russian kales in the late summer and fall.
  1. Sclerotinia – A fungus that affects the roots and stems of lettuce-family seed crops, including sunflowers. We lost a couple lettuce crops to the fungus this year.
  1. Late Blight – We haven’t seen any this year, thank goodness, but when it does rear its head you can say goodbye to all the tomatoes. We’ve only had a couple years when it’s been a major problem. Growing under tunnels and greenhouses generally keep the tomatoes dry and fungus-free.
  2. Powdery Mildew – Not a serious disease, but a life-shortener of chard, zucchini and cucumbers. Good riddance. Who wants to pick those plants for months on end anyway.
  1. I can’t think of any more economically significant diseases, which is pretty great!

OTHER CRITTERS:

This heron isn’t a pest, but it’s finch friends are!
  1. Birds! – We love em, but they’d completely annihilate many of our seed crops without bird netting. Finches are the worst for small seeded things (brassicas, cosmos, spinach), and blackbirds for larger seeds (sunflowers, corn).
  1. Slugs – We all know what slugs do. I think 20% of our farm budget went to Sluggo during that endless wet spring of 2022. Unfortunately, our ecological management practices like cover cropping and maintaining undisturbed perennial zones also create ample slug habitat.
  1. Voles – Come fall, these critters get audacious and develop a particular taste for carrots, beets and radishes.
  1. Deer – They can’t do too much damage on the vegetables, but can wreak havoc overnight on our little fruit trees if we leave the gate open.
  1. Coyotes – We’ve lost a chicken or two or thirteen to these wily beasts.